Paper Mache Projects for Kids: 10 Step-by-Step (2026)
Paper mache is the ultimate budget craft: newspaper, flour, water, and imagination. As an art therapist working with children for 15 years, I've found that paper mache uniquely builds patience (it dries slowly), spatial thinking (3D construction), and creative confidence (you can make literally anything). Here are 10 projects that progress from simple to spectacular, each building skills from the last.
The Perfect Paper Mache Paste
Forget expensive craft store paste. The best recipe is:
- Flour paste: 1 part flour + 2 parts water. Whisk until smooth (like pancake batter). Add a pinch of salt to prevent mold. Lasts 2–3 days refrigerated.
- Glue paste: 1 part white school glue + 1 part water. Smoother finish, dries clear, but more expensive for large projects.
- Pro tip: Tear newspaper into 1-inch strips (don't cut — torn edges blend better). Dip, squeeze off excess paste between fingers, apply smoothly.
10 Paper Mache Projects
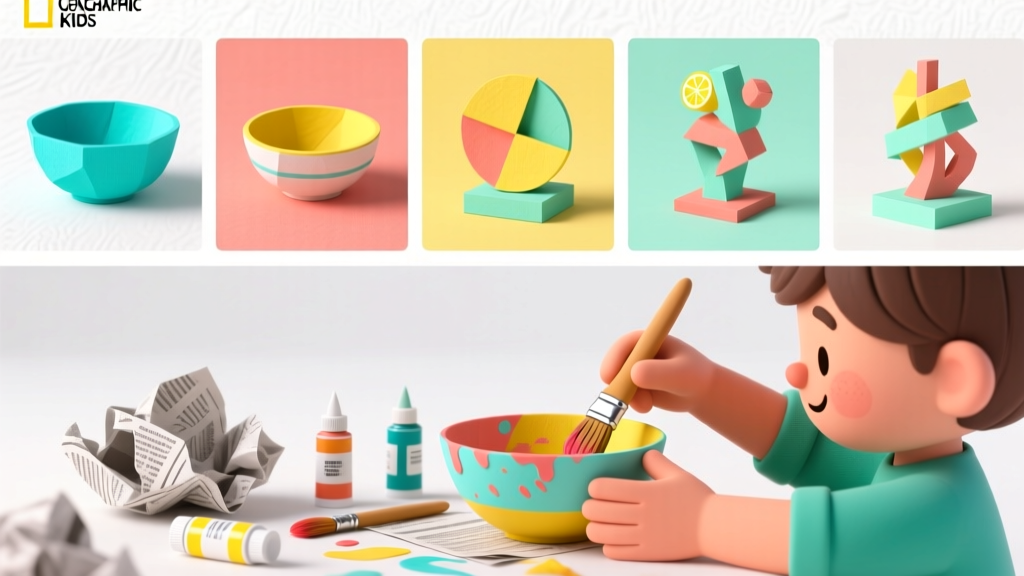
1. Simple Bowl (Beginner, Ages 4+)
Materials: Balloon, newspaper strips, paste, paint. Dry time: 24–48 hours.
Inflate balloon to desired bowl size. Apply 3 layers of paste-soaked strips over the top half. Dry completely, pop balloon, trim edges. Paint inside and out. Perfect for holding jewelry, keys, or treasures.
2. Animal Mask (Beginner, Ages 5+)
Materials: Paper plate, newspaper, paste, elastic, paint. Dry time: 24 hours.
Cut eye holes in paper plate. Build up nose, ears, and features with crumpled newspaper and tape. Cover with 2 layers of paper mache. Paint as favorite animal. Add elastic string.
3. Piggy Bank (Intermediate, Ages 6+)
Materials: Balloon, newspaper, paste, craft knife (adult), paint. Dry time: 48 hours.
Build a round body over a balloon. Add legs (toilet paper tubes), ears, snout, and tail from crumpled paper. Cover everything with 3 layers. Cut coin slot with craft knife after drying. Paint and decorate.
4. Dinosaur Sculpture (Advanced, Ages 8+)
Materials: Wire armature, aluminum foil, newspaper, paste, acrylic paint. Dry time: 3–5 days.
Create a wire skeleton (adult help). Wrap with foil for bulk. Build up muscles and details with crumpled paper and tape. Cover with 4 layers of paper mache. Paint with realistic or fantasy colors.
Project Difficulty Guide
| Project | Age | Layers | Dry Time | Difficulty |
|---|---|---|---|---|
| Simple bowl | 4+ | 3 | 24–48 hrs | ★☆☆☆☆ |
| Animal mask | 5+ | 2 | 24 hrs | ★★☆☆☆ |
| Piggy bank | 6+ | 3 | 48 hrs | ★★★☆☆ |
| Dinosaur | 8+ | 4 | 3–5 days | ★★★★☆ |
Frequently Asked Questions
How do I prevent mold on paper mache projects?
Add salt to your flour paste (1 tablespoon per cup of flour). Ensure complete drying before painting — any trapped moisture will cause mold. In humid climates, use a fan or dehumidifier. Once sealed with paint or varnish, mold is no longer a concern.
Can I speed up drying time?
Yes — place projects near a fan, in sunlight, or in a low oven (170°F/75°C, with supervision). Don't use high heat, which can cause cracking. Thinner layers dry faster — 3 thin layers dry faster than 1 thick layer.
The Bottom Line
Paper mache teaches children that great things take time. The slow build-and-dry process develops patience that transfers to every area of life. Start with a simple bowl, celebrate the imperfections, and watch your child's ambition grow with each project until they're creating sculptures you'll want to display for years.
More Articles
 Easy Knitting Projects for Kids
 Drawing Techniques Every Kid Should Learn
 Paper Plate Crafts for Preschoolers
 Field-Validated Art & Craft Supply Checklist
 Snow Globe Craft for Kids: Safe, Easy & Educational
 8 Safe Toddler Slime Recipes (No Borax, No Glue)
 How to Draw Christmas for Kids: Stress-Free Guide
 Practical Family Storage Ideas That Actually Work
 20 Recycled Art Projects for Kids (Zero-Cost)
 How to Get Kids Paint Out of Clothes (2026)