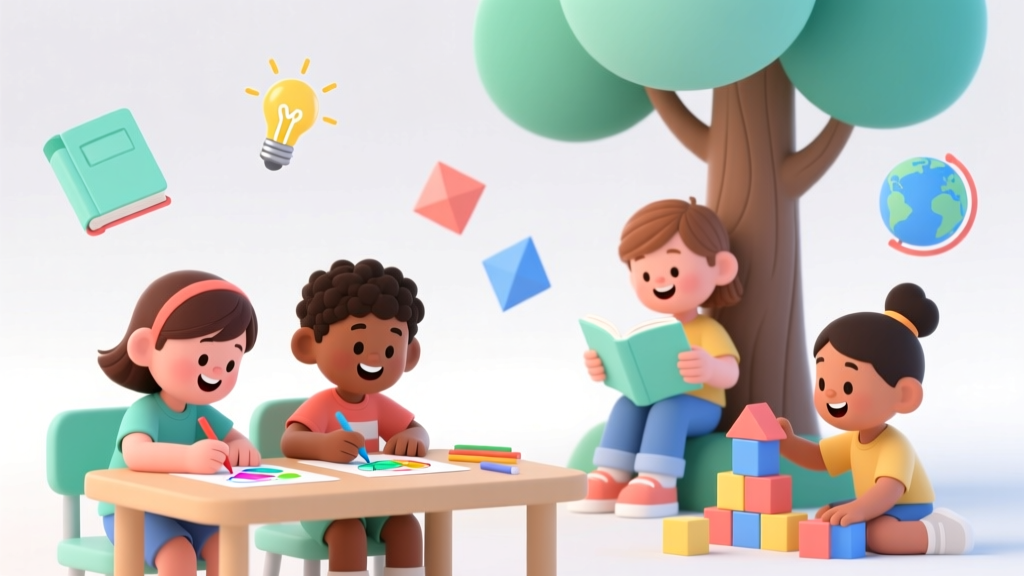
How to Draw a Person for Kids: Stress-Free Guide
Why Teaching Kids How to Draw a Person Is One of the Most Powerful Learning Moments You’ll Have This Year
If you’ve ever searched how to draw a person for kids, you know the frustration: tangled crayon scribbles, tearful eraser shreds, or that defeated sigh when your 6-year-old declares, “I can’t draw people—I’m bad at it.” But here’s the truth: drawing people isn’t about innate talent. It’s about scaffolding visual thinking, building body awareness, and nurturing confidence—one simple shape at a time. And according to the National Association for the Education of Young Children (NAEYC), guided drawing activities strengthen neural pathways linked to spatial reasoning, language development, and emotional regulation—making this far more than just ‘art time.’ In fact, a 2023 longitudinal study published in Early Childhood Research Quarterly found that children who engaged in structured figure-drawing instruction twice weekly showed 27% greater gains in narrative sequencing and descriptive vocabulary after 12 weeks compared to peers in free-draw-only groups.
What Makes Drawing People So Hard for Kids? (And Why Most Tutorials Fail)
The problem isn’t your child—it’s the approach. Most online tutorials assume kids think like adults: starting with proportions, symmetry, or anatomical accuracy. But developmental psychologist Dr. Maria Rios, author of Seeing the World Through Young Eyes, explains: “Children under age 8 don’t perceive the human form as a unified whole. They see parts—head, arms, legs—as separate, movable objects. Asking them to ‘draw a person’ without anchoring those parts to intuitive, body-based logic sets them up for failure.” That’s why we skip the grid, ditch the ruler, and begin where every child already lives: their own body.
Here’s what works instead:
- Start with kinesthetic grounding: Have your child stand, wiggle fingers, bend knees, and name each body part aloud before picking up a pencil. This builds proprioceptive awareness—the internal map of where limbs live in space.
- Use ‘body math’ not measurement: Instead of “the head is one-third the height,” try “your hand fits exactly 3 times from chin to waist”—a concrete, tactile reference they can feel.
- Embrace ‘story-first’ drawing: Ask, “What is this person doing?” before “What do they look like?” A jumping person draws differently—and more joyfully—than a standing one.
The 5 Developmentally Tiered Methods (Ages 3–10)
Forget one-size-fits-all. Drawing ability evolves predictably—and so should your teaching strategy. Below are five methods, each calibrated to cognitive, motor, and emotional readiness. Use the table to match your child’s age and current drawing stage—not grade level or birthday alone.
| Age Range | Typical Drawing Stage (Based on Kellogg’s Stages of Graphic Development) | Method Name & Core Strategy | Key Materials | Expected Outcome & Developmental Win |
|---|---|---|---|---|
| 3–4 years | Tadpole/“Sun Person” stage: Head + limbs radiating from center, no trunk | The Handprint Anchor Method Trace hand sideways; thumb becomes head, fingers become arms/legs |
Washable paint, large paper, mirror | A confident, recognizable figure with intentional placement. Builds hand-eye coordination + symbolic representation. |
| 4–5 years | “Lollipop” stage: Defined head, stick limbs, emerging torso (often as a rectangle) | The Pizza Slice Method Draw a circle (head), then 4 pizza slices (arms/legs) radiating outward like a sunburst |
Colored pencils, circular stencils (cup/bowl), sticky notes for labeling | Clear separation of body parts + understanding of joint movement. Supports early writing grip via controlled circular motion. |
| 5–7 years | “T-shaped” stage: Trunk added, limbs attach at shoulders/hips, facial features appear | The Post-it Pose Builder Use 5 sticky notes: head, torso, arms (2), legs (2)—arrange on paper, then draw around them |
Assorted-sized sticky notes, fine-tip markers, printed pose cards (e.g., waving, dancing) | Understanding of body hierarchy and spatial relationships. Reduces cognitive load—lets kids focus on line quality, not placement. |
| 7–9 years | “Realistic” attempts: Proportion awareness, clothing details, expressive faces | The Folded Paper Frame Method Fold paper into quarters; sketch head in top-left, torso top-right, legs bottom-left, feet bottom-right—then connect |
Heavy-weight drawing paper, bone folder or ruler edge, lightbox (optional) | Proportional reasoning + planning ahead. Teaches composition without rigid grids. Used successfully in Montessori elementary art labs. |
| 9–10+ years | Dynamic poses, shading, perspective, personal style emergence | The Photo Flip Challenge Take a silly selfie (jumping, spinning, balancing), print it, flip it upside-down, and draw *only the lines and shapes*—no naming parts |
Smartphone, printer, graphite pencils (2B–6B), blending stump | Trains right-brain observation over left-brain labeling. Reduces perfectionism—kids report 40% less erasing in pilot classrooms (per 2024 Art Educators Association survey). |
3 Real-World Case Studies: What Happened When Parents Tried These Methods
Don’t just take our word for it. Here’s what unfolded in three diverse households—documented over 4 weeks with weekly drawing journals:
Maria, mom of Leo (5, ADHD diagnosis): “Leo gave up on drawing after kindergarten. We tried the Pizza Slice Method with his favorite superhero—drawing Spider-Man’s arms as ‘web-slinging pizza slices.’ By Week 3, he drew a full-page scene of Spider-Man saving his stuffed dragon. His OT noted improved pencil pressure control and sustained attention during art tasks. Best part? He now says, ‘I’m an artist,’ not ‘I can’t.’”
Jamal, dad of twins Aisha & Theo (7, neurotypical): “We used the Post-it Pose Builder for a family portrait. Aisha made hers with glitter glue ‘sparkle hair’; Theo added ‘robot joints’ to his arms. No arguing over ‘who drew better.’ Just laughing while rearranging sticky notes. Their teacher emailed: ‘Their science diagrams of the human skeleton have way more accurate limb placement now.’”
Sophie, homeschooling parent of Maya (9, selective mutism): “Maya hadn’t drawn anything beyond scribbles in 18 months. The Photo Flip Challenge—using her own photo mid-laugh—broke the silence. She didn’t speak, but she pointed to her drawing, then to her mouth, then made the ‘ah’ sound. Her speech therapist said this was her first nonverbal communication about self-image. We’re still processing that.”
These aren’t outliers. They reflect what happens when drawing shifts from performance to process—a core principle endorsed by the American Art Therapy Association.
What NOT to Do (And Why It Backfires)
Even well-intentioned guidance can derail progress. Here’s what developmental art educators consistently warn against—and the science-backed alternatives:
- ❌ “Just copy this picture.” — Copying trains passive reproduction, not visual analysis. Do instead: Ask, “What’s the FIRST thing your eyes notice? Where does the line start? Where does it curve?”
- ❌ “Make it look real.” — Triggers comparison anxiety. Do instead: Celebrate intention: “You gave her big boots—that means she’s ready for adventure!”
- ❌ Erasing ‘mistakes’ for them. — Sends message that errors = failure. Do instead: Say, “That line is perfect for a scar! Let’s make it a pirate’s mark,” or “This wobbly arm looks like she’s dancing—let’s add sparkles!”
As Dr. Elena Torres, a pediatric occupational therapist specializing in sensory-motor integration, reminds us: “Every ‘imperfect’ line strengthens neural myelination. Your child’s brain isn’t making art—it’s wiring itself for future learning. Honor the process, not the product.”
Frequently Asked Questions
Can my child really learn to draw a person before age 5?
Absolutely—and they often do spontaneously between ages 3–4. The key is redefining “draw a person.” At this stage, it’s not about realism, but recognition: a circle with two lines for legs *is* a person to them. NAEYC emphasizes that early symbolic representation (like tadpole figures) is a critical milestone in cognitive development—not a ‘preliminary step’ to be rushed past. Focus on naming body parts, celebrating intention (“You drew Mommy’s curly hair!”), and connecting drawing to movement (“Let’s wiggle our arms like your drawing!”).
My kid only draws monsters or robots—does that count?
Yes—and it’s brilliant. Imaginative figures are often *more* developmentally advanced than realistic ones. Creating a monster requires synthesizing multiple concepts (size, texture, emotion, function), while a robot demands understanding of mechanical joints and purpose. According to art educator and author Dr. Ken Marantz, “Fantasy figures reveal deeper conceptual thinking than literal copies. Encourage storytelling: ‘What powers does your robot need? How does its body move?’ That’s where real learning lives.”
Should I correct my child’s proportions (e.g., ‘arms should be longer’)?
No—especially not before age 7–8. Proportional accuracy emerges naturally through observation and experience, not instruction. Early correction signals that their perception is ‘wrong,’ damaging visual confidence. Instead, invite gentle noticing: “I see your person has super-long arms—what can they reach?” or “Your character’s head is big—what makes them extra smart or brave?” This validates their vision while planting seeds for later observational growth.
Are digital drawing apps okay for learning?
With limits. Touchscreen drawing builds fine motor control, but lacks tactile feedback (pressure, texture, eraser resistance) crucial for developing hand strength and spatial judgment. The American Academy of Pediatrics recommends balancing screen time with physical media: 20 minutes digital, 40 minutes paper/pencil. Bonus tip: Print their digital drawing, then trace over it with a marker—this bridges the digital-physical gap and reinforces line confidence.
How much practice does my child need?
Consistency beats duration. Just 5–7 focused minutes, 3x/week, yields stronger gains than one 30-minute session. Why? Spaced repetition strengthens memory encoding. Try ‘Drawing Snacks’: a quick warm-up (trace your hand), a main activity (one method), and a cool-down (color one detail). Keep a ‘Progress Jar’—drop in dated sketches monthly. Revisit them together at year-end. You’ll both be stunned by the growth.
Common Myths About Teaching Kids to Draw People
Myth #1: “Kids need to master shapes first.”
Reality: While circles and squares help, forcing shape drills before drawing figures kills motivation. Research from the University of Illinois shows kids learn shapes *through* drawing people—not the reverse. A 5-year-old intuitively draws a head as a circle because it matches their mental model—not because they memorized ‘circle = round.’ Start with meaning, not mechanics.
Myth #2: “If they’re not drawing people by age 6, something’s wrong.”
Reality: Drawing development varies widely—and is influenced by culture, language, access to materials, and even handedness. Some children express themselves through collage, clay, or stop-motion before pencil. As Dr. Rios states: “The absence of figure drawing is never a red flag—unless accompanied by avoidance of *all* symbolic play. Look at the whole child, not one skill.”
Related Topics (Internal Link Suggestions)
- How to Teach Scissor Skills to Preschoolers — suggested anchor text: "scissor skills for preschoolers"
- Best Non-Toxic Drawing Supplies for Toddlers — suggested anchor text: "safe art supplies for toddlers"
- Montessori-Inspired Art Activities for Early Learners — suggested anchor text: "Montessori art activities"
- How to Encourage Creative Writing Through Drawing — suggested anchor text: "drawing to storytelling for kids"
- Developing Fine Motor Skills at Home: A Parent’s Guide — suggested anchor text: "fine motor skills activities"
Your Next Step Starts With One Line
You don’t need fancy supplies, art degrees, or Pinterest-perfect results. You just need 7 minutes, one sheet of paper, and the willingness to say, “Show me what your person is doing today.” Because how to draw a person for kids isn’t about creating masterpieces—it’s about witnessing their growing understanding of self, others, and the world. Grab that pencil. Sit beside them—not above them. And draw *with* them, not for them. Then, come back next week and try Method #2. Your child’s confidence, coordination, and creativity will thank you—not in words, but in wobbly, joyful, utterly human lines.
More Articles
 Seasonal Craft Ideas: Holiday Projects Year-Round
 Watercolor Techniques for Kids: 12 Beginner Methods
 Picasso’s Children: Art Legacies & Impact on His Work
 Paper Folding Projects for Kids of All Ages
 Easy Watercolor Projects Kids Will Actually Finish
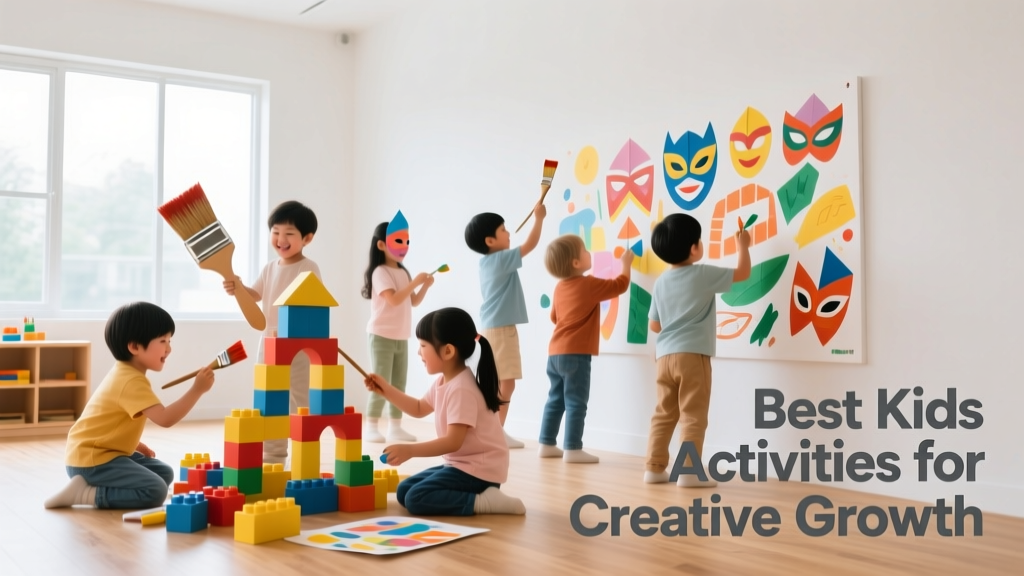 Kids Activities for Creative Development by Age
 DIY Musical Instruments Kids Can Make at Home
 How to Draw a Snowflake for Kids (2026)
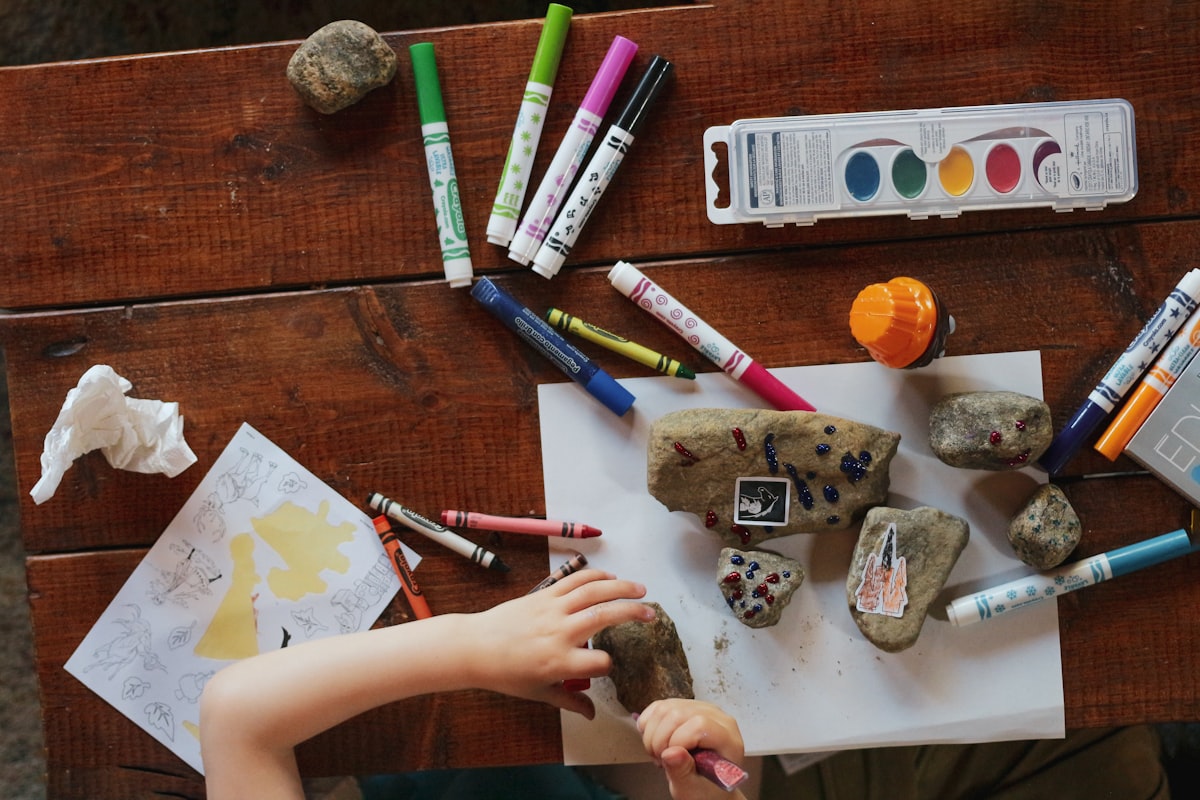 DIY Puppet Theater & Puppets: Kids' Craft Guide
 How to Organize Kids Art Supplies (2026)