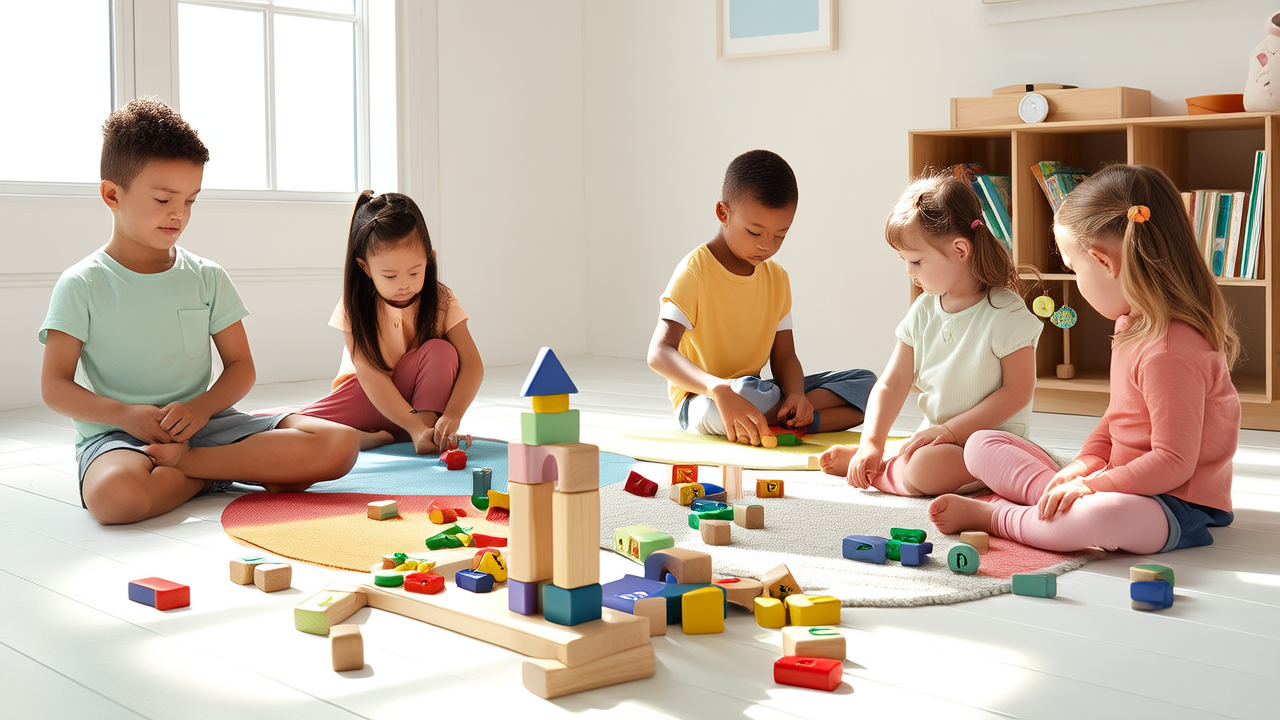
Clay Sculpting Projects for Beginners Under 10
Clay Is the Most Forgiving Medium
Unlike drawing where a wrong line is permanent, clay can be reshaped endlessly until you are happy with the result. Air-dry clay requires no kiln, no special tools, and hardens in 24 to 48 hours on a shelf.
Pinch Pots
Roll a ball of clay and push your thumb into the center. Pinch the walls between your thumb and fingers, rotating the pot as you go to keep the thickness even. Smooth the rim with a wet finger. These small pots are perfect for holding jewelry, coins, or a tea light candle.
Animal Sculptures
Start with simple shapes: a round body, four cylinder legs, a triangle head. Attach pieces by scoring both surfaces with a toothpick and pressing them together. Add details like ears, tails, and eyes with small bits of clay. Let kids make their favorite animals or invent new creatures.
Clay Beads
Roll small balls of clay and poke a hole through each with a toothpick or skewer. Let them dry, then string them on cord to make necklaces or bracelets. Kids can mix colors, add texture with stamps, or paint the beads after drying.
Fridge Magnets
Flatten clay to about a quarter inch thick. Cut shapes with cookie cutters or a knife. Press a small magnet into the back before the clay dries. Paint or glaze after drying. These make great gifts for grandparents.
Essential Tips
- Keep a small bowl of water nearby for smoothing cracks
- Store unused clay in a sealed bag to prevent drying
- Use toothpicks, straws, and kitchen tools for texture and detail
- Paint with acrylics after the clay is fully dry
Clay sculpting builds fine motor skills, spatial reasoning, and patience. The tactile feedback of working with clay engages kids who might not enjoy pencil-and-paper art. Every piece they make is original and tangible.
More Articles
 Ladybug Drawing for Kids: 5 Simple Steps (2026)
 How to Draw a Wolf Easy for Kids (2026)
 DIY Building Mistakes to Avoid: Tips for Contractors
 How to Draw a Wolf for Kids: Stress-Free Guide (2026)
 Sensory Art for Little Explorers
 Natural Collage Art Projects for Kids
 How to Draw a Giraffe for Kids: Stress-Free Guide
 How to Draw a Sea Otter for Kids (2026)
 How to Organize Craft Supplies: Space-Smart System
 Diorama for Kids: Stress-Free, Brain-Boosting Guide