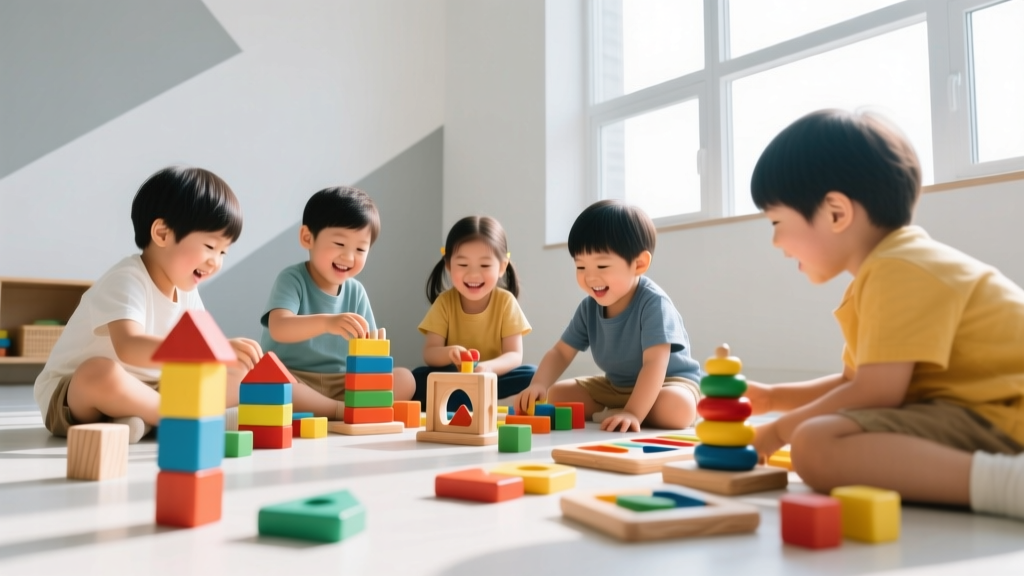
Build Simple Machines with Everyday Objects
Why Simple Machines Are Perfect for Early STEM Learning
Simple machines—levers, inclined planes, pulleys, wheels and axles, wedges, and screws—are the building blocks of engineering. In 2026, educators and child development experts continue to emphasize hands-on, play-based STEM learning as essential for developing critical thinking, spatial reasoning, and problem-solving skills. The best part? You don’t need a lab or expensive kits. With items already in your kitchen drawer, garage, or toy bin, you and your child can explore physics concepts through joyful, screen-free discovery.
Children as young as 2 begin experimenting with cause-and-effect (e.g., pushing a toy car down a ramp), while 8–12-year-olds can predict outcomes, measure effort vs. distance, and iterate designs. These activities also support early literacy (vocabulary like 'lift,' 'balance,' 'rotate') and math (comparing heights, counting rotations, estimating force). Most importantly—they spark curiosity that lasts a lifetime.
6 Simple Machines — and How to Build Each with Household Items
Below are safe, scalable projects sorted by age group and complexity. All use common, low-cost materials—and include tips to extend learning at each stage.
1. Lever: The Mighty See-Saw
A lever helps lift or move things using a pivot point (fulcrum) and effort applied at one end. It’s perfect for toddlers and preschoolers—and deeply engaging for older kids who love testing balance and ratios.
- Ages 2–5: Tape a ruler to a small block (fulcrum). Place a plastic cup on one end and gently press down on the other. Add small toys to the cup and ask, “What happens when we add more?”
- Ages 6–9: Use a wooden spoon balanced across a rolled-up towel (fulcrum). Try lifting a book with one finger—then move the fulcrum closer to the book. Discuss: Which position feels easier? Why?
- Ages 10–12: Build a Class 1 lever with a yardstick, pencil (fulcrum), and two identical paper cups. Hang washers or coins in one cup (load) and add pennies to the other (effort) until balanced. Record data: load weight × load distance = effort weight × effort distance.
Pro tip: Label parts together—'fulcrum,' 'load,' 'effort arm.' Take photos before/after adjustments to reinforce observation skills.
2. Inclined Plane (Ramp): Easy Does It!
Ramps reduce the force needed to raise an object—making them ideal for sensory-rich, motor-friendly exploration.
- Ages 2–4: Prop a cutting board or cardboard box lid against a sofa cushion. Roll toy cars, balls, or even a stuffed animal down it. Vary the height and talk about 'fast/slow,' 'steep/gentle.'
- Ages 5–8: Build three ramps of different slopes using books, LEGO bricks, or shoeboxes. Time how long it takes a marble to roll down each. Graph results—or race two marbles side-by-side.
- Ages 9–12: Measure ramp angles with a protractor (or estimate using a phone angle app). Calculate mechanical advantage: length ÷ height. Then test how many books a toy truck can haul up each ramp versus lifting straight up.
Safety note: Always supervise ramp experiments involving rolling objects near stairs or hard floors. Use soft balls or foam blocks for younger kids.
3. Pulley: Lift Like a Construction Worker
Pulleys change the direction—or reduce the effort—of a pulling force. Even a basic fixed pulley introduces powerful ideas about force and motion.
What you’ll need: A thread spool (or empty plastic bottle with holes punched in opposite sides), string, tape, and a small bucket or paper cup.
- Ages 3–6: Thread string through the spool, tie a cup to one end, and tape the spool to the edge of a table. Let your child pull the free end to lift the cup. Add cotton balls or pom-poms to 'load' it gradually.
- Ages 7–10: Suspend the spool from a door handle or broomstick架 (secured between chairs). Compare lifting a water bottle directly vs. using the pulley. Ask: Is it easier? Does it feel lighter—or just different?
- Ages 11–12: Build a compound pulley with two spools and a longer string. Measure how much string you pull vs. how far the load rises. Introduce the concept of trade-off: less force required, but more distance traveled.
Real-world link: Point out pulleys in flagpoles, window blinds, or cranes during neighborhood walks.
Age-Appropriate Tips & Troubleshooting
Every child engages differently—here’s how to adapt without frustration:
- For toddlers (2–3): Focus on sensory input and vocabulary. Say ‘push,’ ‘pull,’ ‘up,’ ‘down,’ ‘roll,’ ‘slide’ while playing. Keep builds under 5 minutes and celebrate every attempt—even if the lever wobbles!
- For preschoolers (4–5): Introduce simple predictions (“Will the car go faster on the tall ramp or short one?”) and let them test. Use stickers or stamps to mark ‘start’ and ‘finish’ points.
- For elementary kids (6–9): Encourage sketching their design first. Ask open-ended questions: “What would happen if we made the ramp longer but kept the same height?” Keep a ‘STEM journal’ with drawings and one-sentence observations.
- For tweens (10–12): Challenge them to solve real problems: *“Design a way to lift a 500g bag of rice to your desk using only recycled materials.”* Guide them to research mechanical advantage formulas and calculate efficiency.
Troubleshooting common hiccups:
• “It keeps falling apart!” → Reinforce with masking tape, binder clips, or rubber bands—not glue (so kids can redesign freely).
• “They’re not interested.” → Tie builds to stories (“Help the robot climb the mountain!”) or favorite characters.
• “I don’t know the science.” → You don’t need to! Say, *“Let’s find out together,”* then explore, observe, and look up answers side-by-side.
Why This Matters Beyond the Living Room
In 2026, STEM fluency isn’t just for future engineers—it’s foundational for digital citizenship, climate awareness, and creative problem-solving in everyday life. When a 6-year-old adjusts a pulley to lift her art supplies, she’s practicing systems thinking. When a 10-year-old recalculates ramp angles after rain changes traction, she’s applying iterative design—the same process behind solar panel placement or wheelchair-accessible sidewalks.
Most importantly, these moments build confidence. There’s no ‘wrong answer’—only new questions. And when your child says, *“I built that!”* while pointing to their wobbly, brilliant lever-powered snack delivery system? That’s the spark that lights lifelong learning.
So grab a spoon, a rubber band, and 15 minutes this afternoon. No lesson plan required—just curiosity, connection, and the joyful mess of making something work… together.
More Articles
 Map Literacy for Kids: Build Spatial Skills (2026)
 Sid the Science Kid Streaming & STEM Impact (2026)
 How to Teach Fractions Using Cooking and Baking (2026)
 Adolescent Brain Resilience: Science-Backed Framework
 Best Robotics Kits for Kids Ages 6–12 (2026)
 Baking Soda & Vinegar Volcano Experiment
 What Does 6.7 Mean to Kids? Fix Decimal Confusion
 Penny Nickel Dime Riddle: STEM Learning for Kids
 Teaching Volume to Kids: A Hands-On Guide
 Sustainable Bowl Alternatives for Infants & Toddlers