Easy Tie-Dye Projects for Beginners
Why Tie-Dye Is Perfect for Kids (and Parents!)
Tie-dye isn’t just a nostalgic summer staple—it’s a joyful, sensory-rich art activity that builds fine motor skills, encourages creativity, and teaches cause-and-effect in the most colorful way possible. For parents, it’s surprisingly accessible: no fancy equipment, minimal prep, and results that feel magical—even when things go "wrong." Best of all? With the right approach, tie-dye can be low-mess, budget-friendly, and completed start-to-finish in under two hours (including drying time). In this guide, we’ll walk you through beginner-friendly techniques, smart supply swaps, and real-world tips tested by parents who’ve survived (and loved) their first family tie-dye session.
What You’ll Need: Simple & Smart Supplies
Essential Kit (Under $15)
You don’t need a craft store haul to get started. Here’s the pared-down, parent-approved list:
- Fabric: 100% cotton t-shirts, socks, bandanas, or pillowcases (pre-washed, no fabric softener)
- Dye: Fiber-reactive dyes (like Tulip One-Step or Dharma Trading Co. kits)—they’re non-toxic, wash-fast, and mix easily with water
- Squeeze bottles: Reusable plastic bottles with fine-tip nozzles (or repurpose clean ketchup/mustard bottles)
- Rubber bands: Assorted sizes—thin for tight spirals, thick for bold sections
- Plastic gloves & aprons: Vinyl or nitrile gloves (not latex—they can react with dye); old t-shirts double as smocks
- Plastic table cover & garbage bags: For easy cleanup—lay down double layers
Parent Pro Tips: Save Time & Stress
• Pre-mix dyes the night before: Combine powder + warm water in labeled bottles; store capped in the fridge overnight (stays active 3–5 days).
• Use white vinegar soak instead of soda ash (for beginners): Soak fabrics in 1 cup white vinegar + 2 cups water for 15 minutes before dyeing—safer for little hands and still gives vibrant results on cotton.
• Designate a "dye zone": Set up outdoors, in a garage, or over a tiled bathroom floor. Keep paper towels, wet rags, and a spray bottle of water nearby for quick wipe-ups.
3 Foolproof Techniques—No Experience Needed
1. The Classic Spiral (Great for First Graders+)
This is the most beloved—and forgiving—tie-dye pattern. Kids love watching colors swirl together!
- Lay flat a damp (not dripping) cotton shirt on your protected surface.
- Pinch the center of the fabric and twist clockwise until the whole shirt coils into a flat disc (like a cinnamon roll).
- Secure tightly with 3–5 rubber bands, dividing the disc into 6–8 pizza-slice sections.
- Apply one color per section, saturating fabric fully but avoiding overspill between zones. Tip: Start light—dyes darken as they set!
- Let sit wrapped in plastic for 6–8 hours (or overnight). Rinse in cold water until runoff runs clear, then wash separately in warm water with mild detergent.
2. The Bullseye (Ideal for Toddlers with Help)
Minimal twisting, maximum impact—perfect for short attention spans and developing hand strength.
- Place a small object (a marble, bouncy ball, or even a crumpled foil ball) in the center of the fabric.
- Gather fabric tightly around it and bind with rubber bands in concentric circles (like tree rings), spacing them 1–2 inches apart.
- Apply contrasting colors to each ring—e.g., yellow center, blue middle, red outer ring.
- Let set 6+ hours. Unwrap carefully (wear gloves!) and rinse thoroughly.
Pro tip for toddlers: Let them place the “magic stone” and choose colors—handle the binding and squeezing yourself. They’ll still feel ownership and delight in the reveal!
3. The Scrunch & Spray (Zero-Twist, All-Fun)
No rubber bands? No problem. This technique uses texture and motion—great for preschoolers or large groups.
- Wad up the fabric loosely into a ball—no need to be neat! Encourage big, dramatic scrunches.
- Hold the bundle over a tray or trash bag and spray dye evenly from all angles using a trigger-spray bottle (mix 1 tsp dye powder per ½ cup water for spray consistency).
- Flip and repeat until saturated—but keep it light; over-spraying causes muddy colors.
- Wrap in plastic and let set 6–8 hours. Unwrap, rinse, and hang to dry.
This method yields beautiful watercolor-like blooms and works especially well on bandanas, tote bags, or baby onesies.
Bonus Tips for Real-Life Success
• Set expectations early: Say, “We’re making art—not perfect art. Every blob, drip, and surprise is part of the fun!”
• Do a test swatch: Dye a scrap of cotton first to check color intensity and drying time.
• Embrace the rinse ritual: Turn rinsing into a game—“Can you guess what color is hiding under this blue spot?”
• Wash dyed items separately for the first 2–3 cycles to prevent bleeding.
• Save leftover dye: Store mixed dyes in the fridge for up to 5 days—label with date and color. Discard if cloudy or smells sour.
• Make it meaningful: Tie-dye matching shirts before a school field trip, create “big sibling welcome” onesies, or design reusable produce bags for eco-conscious kids.
Remember: Tie-dye isn’t about perfection—it’s about presence. It’s the shared concentration while twisting fabric, the laughter when a rubber band snaps, the awe when colors bloom under running water. With these simple methods and mindset shifts, your first tie-dye project won’t just be easy—it’ll be unforgettable.
More Articles
 How to Draw Airplane for Kids: Easy 5-Step Guide
 Cheap vs Premium Outdoor Furniture: Performance & Value
 How to Draw Easter Bunny for Kids: Easy Step-by-Step (2026)
 Camping Mistakes: What 12,000+ Campers Got Wrong
 How to Draw a Dinosaur for Kids (2026)
 Backyard STEM: Science, Math & Sensory Outdoors
 How to Draw Book for Kids: Evidence-Based, Ages 3–10
 Christmas Drawing for Kids: 7 Easy Step-by-Step (2026)
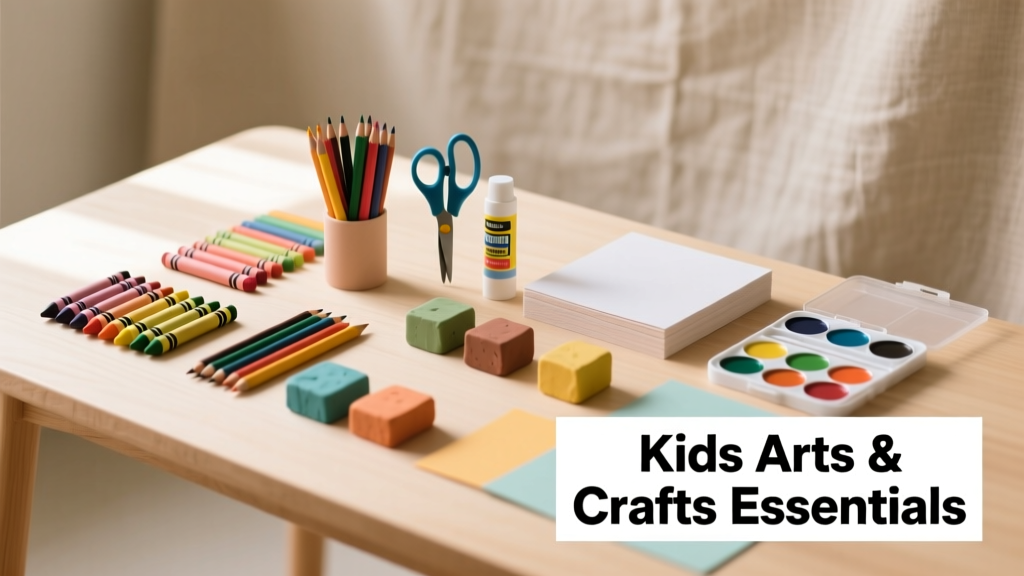 Kids Arts & Crafts: Safety-First Toolkit (Ages 3–12)
 How to Draw a Groundhog for Kids (2026)