Clay Sculpting for Kids: 14 Air-Dry Ideas
Air-dry clay makes sculpture accessible to every home — no kiln, no special equipment, just creativity and patience. These 14 projects range from simple pinch pots to detailed figurines, each building on the last.
Getting Started with Air-Dry Clay
Recommended brands: Crayola Model Magic (lightest, best for young kids), DAS Air-Hardening (smooth, professional feel), Crayola Air-Dry Clay (budget-friendly).
Essential tools:
- Craft knife (adult use only)
- Rolling pin or smooth bottle
- Toothpicks and skewers for details
- Small bowl of water (for smoothing)
- Acrylic paints and brushes for finishing
14 Projects by Skill Level
Beginner (Ages 4-7)
- 1. Pinch Pot: Roll a ball, push thumb in center, pinch walls thinner. The most fundamental clay technique. Decorate as a small treasure bowl.
- 2. Snake Letters: Roll clay into ropes, form into letters of name. Press onto a flat clay base for a personalized name plaque.
- 3. Thumb Animals: Make a basic pinch pot shape, add ears, eyes, and a tail. Children naturally create recognizable animals from this simple starting form.
Intermediate (Ages 8-11)
- 4. Coil Pot: Roll long snakes of clay, stack in spirals, smooth joints. Creates beautiful pottery shapes. Add texture with stamps or found objects before drying.
- 5. Relief Sculpture: Roll a flat slab, press objects (leaves, shells, coins) into it, carve details. Frame when dry for wall art.
- 6. Jewelry Dish: Press clay into a small bowl shape, add decorative edges (scalloped, leaf-shaped). Perfect for rings and earrings.
Drying and Finishing
| Step | Time | Tips |
|---|---|---|
| Air dry | 24-72 hours | |
| Sand | 10 minutes | |
| Paint | 1-2 hours | |
| Seal | 30 minutes |
More Articles
 Puppet Making With Items You Already Have
 How to Draw Santa Claus for Kids: Stress-Free Guide
 How to Make a Piñata for Kids: Safe & Simple (2026)
 Recycled Material Art Projects for Kids
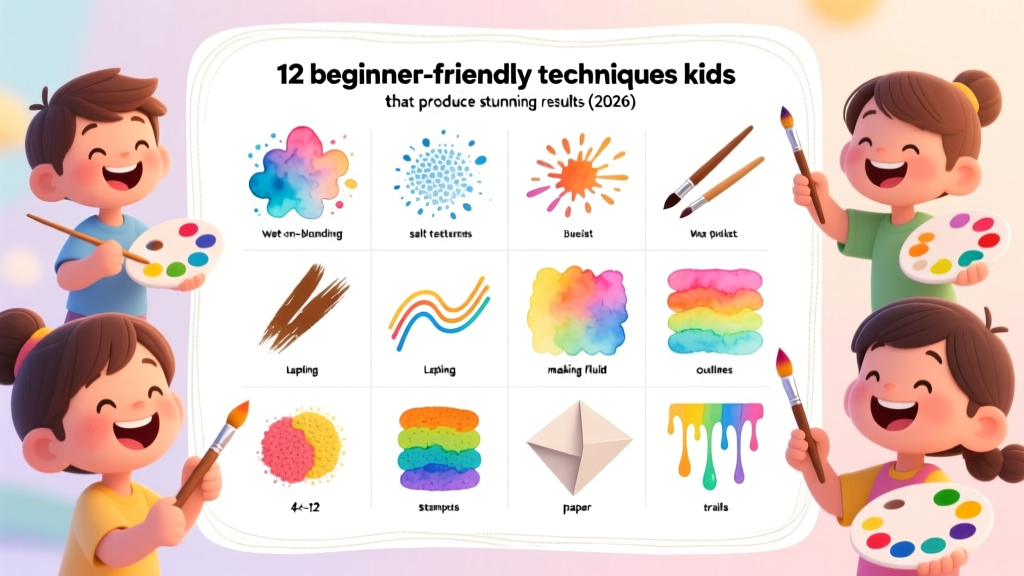 Kids' Watercolor Techniques: 12 Beginner Methods (2026)
 How to Draw a Mermaid for Kids: Easy Step-by-Step Guide
 How to Train Your Dragon Costume Kids: Safe & Easy DIY
 May Crafts for Kids: Mess-Free & Educator-Tested (2026)
 Pop Up Cards for Kids: Easy, Safe & Developmental
 Friendship Bracelets: Easy Patterns for Kids