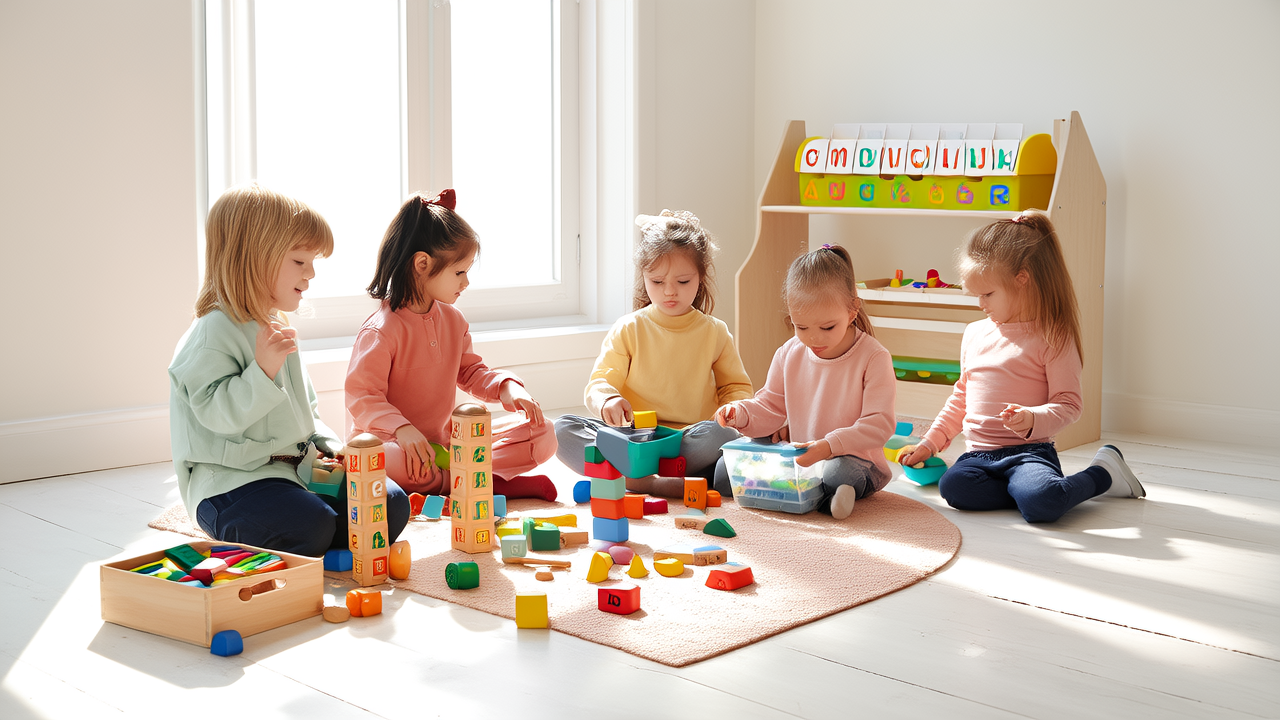
Clay Modeling Projects for Fine Motor Skills
Why Clay Modeling Builds Fine Motor Skills
Clay modeling strengthens the small muscles of the hands and fingers—essential for writing, cutting, buttoning clothes, and using utensils. Squeezing, rolling, pinching, and sculpting require coordinated use of intrinsic hand muscles, thumb opposition, and bilateral hand use. Research shows consistent tactile manipulation improves neural pathways linked to motor planning and sensory integration.
Key Skills Developed
- Pinch strength (using thumb and index/middle finger)
- Hand arch development (critical for pencil grasp)
- Bilateral coordination (using both hands together)
- Finger isolation (moving one finger independently)
- Visual-motor integration (translating what’s seen into hand movement)
Age-Appropriate Projects & Materials
Ages 2–4: Sensory Foundations
At this stage, focus on exploration over precision. Use non-toxic, soft, and easy-to-manipulate clays. Crayola Model Magic is ideal—it’s lightweight, air-dries in 24 hours, and contains no gluten or latex. Avoid polymer clays (e.g., Sculpey) or oven-bake types—these require heat and contain chemicals unsafe for toddlers.
Project: “Squish & Stick” Shapes
Provide 1-inch balls of three colors of Model Magic. Ask children to squash each ball flat, then press buttons, pasta wheels, or large wooden beads into the surface. This builds palmar arch strength and fingertip pressure control. Supervise closely—small embellishments like sequins are choking hazards under age 3.
Safety Tip: Always use ASTM D-4236–certified products. Check packaging for “conforms to ASTM F963” and “non-toxic.” Store clay in airtight containers (like Snapware 2-cup plastic containers) to prevent drying.
Ages 5–7: Structured Sculpting
Children now have better finger control and can follow multi-step directions. Introduce firmer clays with mild resistance—like Das Air-Dry Clay (white or terracotta). It’s water-based, sandable when dry, and holds fine detail without cracking. Avoid Play-Doh for skill-building: its extreme softness offers minimal resistance, limiting muscle activation.
Project: “Button-Embedded Animals”
Roll a walnut-sized ball of Das clay into an oval (body), then two pea-sized balls for legs. Flatten each leg and press a 12-mm wooden button (e.g., MindWare’s Natural Wood Buttons, 12 mm) into the top—this requires controlled thumb-index pinch and wrist stabilization. Add ears from rolled coils and press on eyes made from black craft beads (≥18 mm diameter to meet CPSC small-parts regulation).
Tip: Use child-safe tools: The Learning Resources Primary Science Tool Set includes blunt-tip tweezers and a soft-bristle brush—perfect for smoothing seams without sharp edges.
Ages 8–10: Precision & Planning
Kids can handle detailed work and benefit from tools that challenge coordination. Try Creative Paperclay (original white formula)—it’s lightweight, sands smoothly, and accepts acrylic paint. Unlike air-dry clays that shrink significantly, Creative Paperclay maintains shape during drying (±2% shrinkage), reducing frustration.
Project: “Interlocking Bead Chain”
Roll 10 uniform 8-mm beads using a bead roller guide (e.g., Darice Bead Roller Tool). Then, roll ten 3-inch ropes (use a ruler for consistency). Thread each rope through a bead, twist once, and tuck the end into the bead’s hole—requiring bilateral coordination, finger isolation, and sustained attention. Let dry 48 hours before painting.
Tool Upgrade: Add the Clay People Mini Clay Tools set (includes loop, ribbon, and needle tools with rounded tips). Its ergonomic handles fit grade-school hands and promote proper tripod grip positioning.
Practical Tips for Maximum Skill Gain
- Resist “fixing” their work. If a coil collapses or a bead falls off, prompt problem-solving: “What could help it stay?” rather than re-sculpting it yourself.
- Time it right. Limit sessions to 15–20 minutes for ages 2–4; 25–35 minutes for ages 5–7; up to 45 minutes for ages 8–10. Use a visual timer (e.g., Time Timer Original 60-Minute) so kids self-monitor.
- Pair with verbal cues. Say “press with your thumb and pointer” instead of “do this.” Name the muscles being used (“feel your thumb push down?”) to build body awareness.
- Rotate surfaces. Work on a non-slip mat (like the IKEA TROFAST tray liner) to stabilize the base and encourage shoulder stability—not just finger movement.
- Store properly. Keep unused clay in vacuum-sealed bags (FoodSaver Starter Kit) or glass jars with rubber gaskets (Kilner storage jars). Exposure to air causes premature drying and increased stiffness—making manipulation harder for developing hands.
When to Adjust or Pause
Stop if a child consistently uses only the fleshy part of the palm (no finger involvement), leans heavily on elbows, or avoids pinching tasks. These may signal low hand strength or sensory aversion. Try pre-clay warm-ups: squeezing a therapy putty (Theraputty #1 “Soft”) for 30 seconds, or crumpling tissue paper into tight balls.
If a child has diagnosed low muscle tone (hypotonia) or joint hypermobility (e.g., EDS), consult an occupational therapist before introducing resistive clays. For these learners, start with softer mediums like Crayola Air-Dry Clay (softer than Das) and add resistance gradually—e.g., mixing in 1 tsp of fine sand per ¼ cup clay to increase texture and feedback.
Cleaning & Long-Term Use
Wipe tools with damp microfiber cloths (e.g., Norwex Enviro Cloth)—no soap needed. Soak dried clay residue off rollers in warm water for 10 minutes before scrubbing with a soft toothbrush. Never soak wooden tools; wipe only.
Dried clay sculptures last years if sealed. Use Mod Podge Dishwasher Safe Gloss (tested for food-safe surfaces) for a durable, non-yellowing finish. Apply two thin coats, drying 2 hours between layers. Avoid spray sealants—fumes irritate airways and overspray creates uneven texture.
Final Thought
Clay modeling isn’t about perfect outcomes—it’s about repeated, intentional movement. A 4-year-old pressing a button into clay 12 times builds more neural connectivity than watching a 10-minute demo video. Choose materials with appropriate resistance, match tasks to developmental capacity, and prioritize process over product. With consistent, guided practice, these projects lay physical groundwork for handwriting fluency, tool use, and lifelong manual dexterity.
More Articles
 How to Draw Martin Luther King Jr. for Kids (2026)
 How to Draw a Turtle for Kids (Ages 3–9)
 How to Draw a Kid: 5 Simple Steps (2026)
 How to Draw a Rose for Kids: Brain-Boosting Guide
 Seasonal Craft Ideas: Holiday Projects Year-Round
 Sticker Art Activities for Toddlers
 How to Draw a Sea Otter for Kids (2026)
 Natural Collage Art Projects for Kids
 Watercolor Techniques for Kids 2026
 How to Draw the Statue of Liberty for Kids (2026)