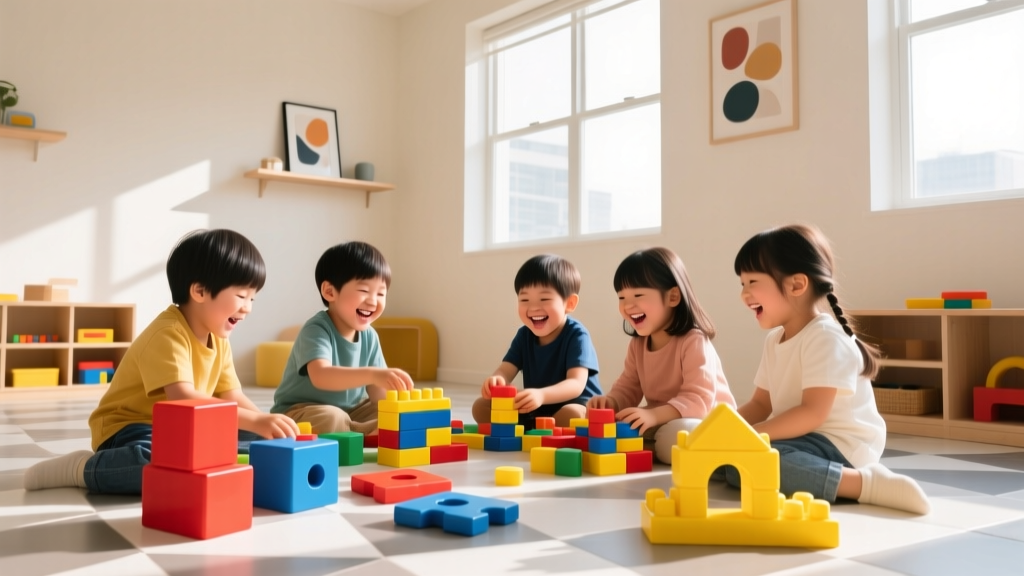
How to Build a Kid-Friendly Treehouse
Why a Kid-Friendly Treehouse Is Worth the Effort
There’s magic in a child climbing up a ladder into their own leafy kingdom—a place where imagination takes root and independence blossoms. A well-built, kid-friendly treehouse isn’t just a backyard novelty; it’s a catalyst for physical activity, creative play, problem-solving, and quiet reflection. Unlike plastic playsets that fade with time, a thoughtfully designed treehouse grows with your child—adapting from a pirate ship at age 5 to a reading nook or art studio by age 12. Best of all, building one together fosters bonding, teaches real-world skills (measuring, drilling, teamwork), and creates memories etched in sawdust and sunshine.
Planning & Safety: The Non-Negotiable Foundation
Choose the Right Tree—and Get Expert Input
Not every tree is fit for a treehouse. Prioritize mature, healthy hardwoods like oak, maple, or beech with trunk diameters of at least 12 inches. Avoid brittle species (e.g., silver maple, poplar) or trees showing signs of rot, cracks, or fungal growth. Before hammering a single nail, consult a certified arborist—many offer affordable pre-build assessments. They’ll evaluate structural integrity, root health, and long-term viability (a $150–$300 investment that prevents costly mistakes or safety hazards).
Design with Developmental Needs in Mind
Kid-friendly means age-appropriate *and* inclusive. For preschoolers (3–5), keep the platform no higher than 4 feet off the ground, use wide, non-slip steps with handrails on both sides, and eliminate open gaps wider than 3.5 inches (to prevent head entrapment). For ages 6–10, add features like a chalkboard wall, pulley system for hauling supplies, or a weatherproof window seat—but always maintain guardrails at least 36 inches high. If your child has mobility needs, consider a ramped entry or ground-level ‘treehouse-inspired’ platform with climbing walls and sensory elements instead of elevation.
Permits, Zoning, and Insurance Check
Don’t skip this step! Many municipalities require permits for structures over 100 sq ft or elevated more than 6 feet. Contact your local building department *before* purchasing materials. Also notify your homeowner’s insurance provider—some policies exclude coverage for unpermitted structures or require added liability riders. Keep all inspection records and arborist reports on file.
Building Smart: Materials, Tools & Step-by-Step Tips
Use Safe, Sustainable, & Low-Maintenance Materials
Opt for ACQ-treated lumber (arsenic-free) or naturally rot-resistant woods like cedar or redwood. Avoid pressure-treated wood with CCA (chromated copper arsenate)—banned for residential use since 2004 but still found in older stock. For platforms and decking, use 2×6 or 2×8 joists spaced 12” on center for maximum stability. Fasten with galvanized or stainless-steel bolts—not nails—for critical load-bearing connections. Use rubber-coated or textured composite decking to prevent slips, even when wet.
Anchor Securely—Without Harming the Tree
Traditional spikes and nails damage cambium layers and invite disease. Instead, use treehouse attachment bolts (TABs)—engineered steel bolts that support weight while allowing natural tree growth. Install TABs at least 18 inches apart vertically and avoid girdling the trunk with wraps or belts. Leave 1–2 inches of clearance between the platform and tree trunk to accommodate growth and sway. For extra stability (especially in windy areas), add diagonal bracing or a cantilevered design anchored to multiple limbs—not just the main trunk.
Immediate DIY Tips You Can Start Today
- Measure twice, cut once—and involve your kids. Have them help sketch floor plans on graph paper or use free apps like SketchUp Free to visualize scale and layout.
- Pre-drill every screw hole. This prevents splitting, especially in green or dense wood—and reduces frustration for young helpers.
- Add safety as you build—not after. Install railings *before* adding flooring. Use painter’s tape to mark railing heights and ladder rung spacing so everyone agrees on standards upfront.
- Label all parts. Use masking tape and a marker on beams and brackets—especially if assembling over multiple weekends. It saves hours of re-identification.
Finishing Touches That Spark Joy & Extend Play Value
Make It Inviting, Not Just Functional
A treehouse becomes beloved when it feels like *theirs*. Paint the exterior in cheerful, weather-resistant acrylics—let your child choose colors or paint stars, animals, or constellations on the walls. Install battery-operated LED string lights (no wiring needed) for cozy evening hangs. Add a chalkboard panel on the interior wall, a hanging shelf for favorite books, or a small pulley basket for snacks and water bottles.
Encourage Stewardship & Outdoor Learning
Turn maintenance into shared responsibility: assign your child a ‘Treehouse Care Calendar’ with simple tasks—checking for loose screws monthly, wiping down surfaces after rain, or sketching seasonal changes in the surrounding leaves. Plant native flowers or herbs in pots beneath the tree to attract butterflies and bees—and create a living science lab right outside the door.
Seasonal Upgrades for Year-Round Use
- Spring: Hang wind chimes made from recycled materials or install a small rain gauge.
- Summer: Add shade with a removable canopy or attach a retractable awning.
- Fall: String solar-powered fairy lights and hang dried cornstalks or gourds for texture.
- Winter: Insulate the floor with rigid foam board under decking, add thick outdoor cushions, and hang thermal curtains for the doorway.
Remember: the goal isn’t perfection—it’s presence. Your child won’t remember if the roof pitch was exact, but they’ll remember the afternoon you held the level while they handed you screws, laughing as a squirrel watched from a nearby branch. A kid-friendly treehouse is less about square footage and more about creating space where curiosity climbs as high as the structure itself.
More Articles
 Kids Hiking Safety Tips for Parents in 2026
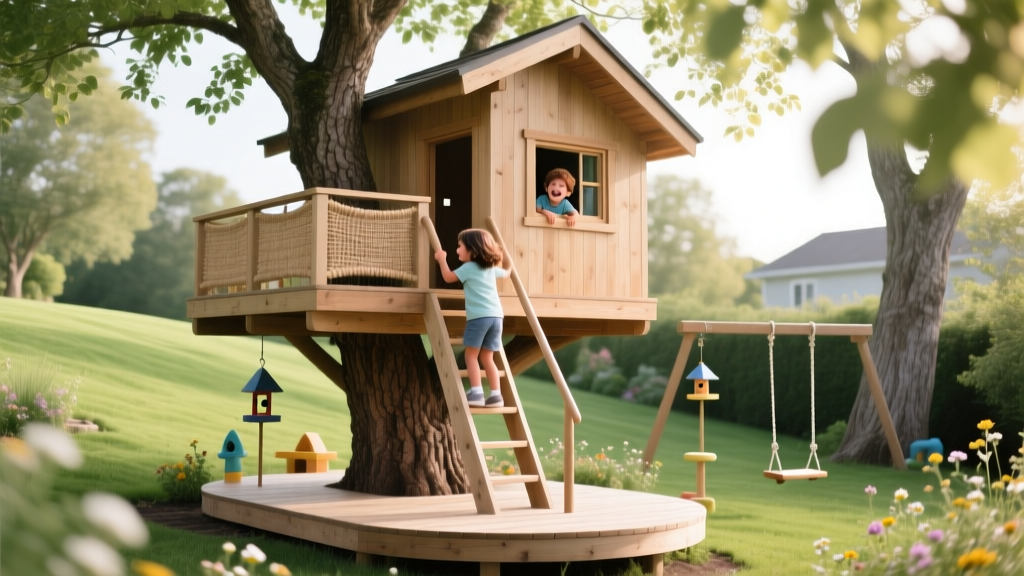 12 Best Treehouse Designs for Kids (2026 Safety)
 Kids Need Recess: Brain Science & Learning (2026)
 25 Family Camping Games and Activities for All Ages (2026)
 Arts & Crafts Tools for Outdoor Garden Projects
 What to Do in Colorado with Kids: Outdoor Adventures
 Best Outdoor Toys for Active Play 2026
 Kids Garden Projects: Beginner Guide
 Nature Walk Activities for Families
 What Age Do Kids Need Fishing License? (2026)