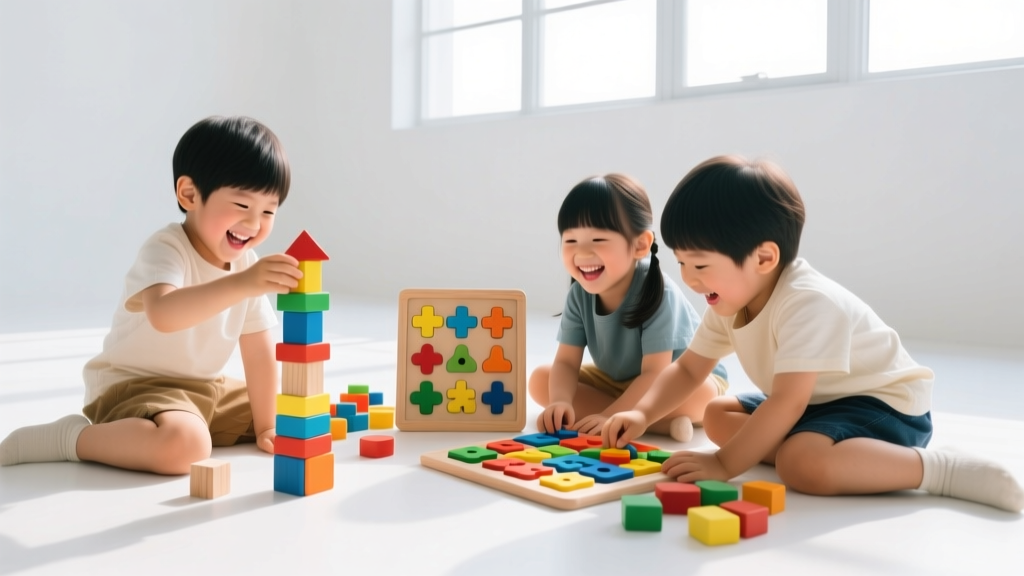
Safe Printmaking Techniques for Kids
Why Printmaking Is Perfect for Young Artists
Printmaking isn’t just for professional studios—it’s a joyful, sensory-rich art form that builds fine motor skills, pattern recognition, and creative confidence in children as young as two. Unlike painting or drawing, printmaking introduces cause-and-effect thinking (“I press here → this image appears!”), repetition with variation, and early STEM concepts like symmetry and transfer. Best of all, when done safely, it requires no heat, solvents, or sharp tools. In 2026, more families are choosing low-waste, non-toxic arts experiences—and printmaking fits perfectly. This guide shares four proven, parent-tested techniques that work beautifully across developmental stages—from toddler stamping to upper-elementary linocut alternatives.
1. Foam Stamping: The Toddler-to-Tween Favorite
Foam stamping uses soft, reusable craft foam sheets (often sold as ‘sticker foam’ or ‘EVA foam’) cut into shapes and glued to wooden blocks or bottle caps. It’s washable, forgiving, and ideal for ages 2–8—with adaptations for older kids too.
What You’ll Need
- Self-adhesive foam sheets (non-toxic, ASTM D-4236 certified)
- Child-safe washable printing ink or tempera paint mixed 1:1 with dish soap (creates smooth, non-streaky transfer)
- Soft brayers (foam rollers) or clean sponge brushes
- Recycled cardboard or plastic lids as ink palettes
- Heavy-weight paper (e.g., 80–100 lb cardstock) or fabric scraps for fabric printing
Pro Tip: For toddlers (ages 2–4), pre-cut simple shapes (stars, circles, animals) and let them glue them onto large bottle caps using non-toxic glue sticks. Skip the brayer—just dab ink on the foam with a sponge and press firmly by hand. Older kids (5–12) can draw and cut their own designs using blunt-tip scissors or craft punches.
Try this 2026 classroom favorite: “Nature Texture Prints.” Collect safe outdoor items—smooth stones, fern fronds, or bark—and press them into inked foam before stamping. It bridges science and art seamlessly!
2. Vegetable & Fruit Printing: Edible Art Made Easy
This technique transforms kitchen scraps into instant stamps—no cutting required for little ones, and endless texture potential for all ages. All materials are food-grade, biodegradable, and zero-risk if mouthed (a real concern for 2–4 year olds).
Best Produce Picks by Age
- Ages 2–4: Halved apples, pears, or potatoes (cut by adult); use shallow ink trays so dipping is easy
- Ages 5–8: Bell peppers (halved lengthwise for star-shaped cores), celery stalks (cut crosswise for lace-like prints), or cauliflower florets
- Ages 9–12: Carrot rounds, citrus halves, or layered veggie collages (e.g., beet + zucchini + radish on one sheet)
Use only washable, water-based inks (Crayola Washable Ink Pads or homemade beet juice + cornstarch paste for natural color). Avoid oil-based inks—even “low-odor” versions aren’t recommended for unsupervised child use. Rinse produce between prints to keep colors vibrant. Bonus: Turn leftover prints into greeting cards or wrapping paper—kids love seeing their art used meaningfully!
3. Gelatin Plate Printing: Sensory Magic for Ages 5+
Gelatin plate printing uses a bouncy, reusable plate made from unflavored gelatin, glycerin, and water—completely non-toxic, odorless, and dissolvable in warm water. It’s a hit in Montessori and Reggio-inspired homes because it teaches layering, transparency, and reductive art (removing ink to reveal white space).
Safety First: Always prepare plates with adult supervision (requires brief stovetop heating). Once cooled, plates are safe for kids 5+ to handle. Store in fridge for up to 2 weeks; discard if cloudy or sour-smelling.
Simple 3-Step Process
- Apply a thin, even layer of washable ink to the gelatin surface with a brayer
- Press found objects (leaves, lace, plastic combs, or cut paper stencils) into the inked surface
- Place paper gently on top, smooth with palm or soft brush, then lift slowly
Older kids (8–12) enjoy experimenting with “ghost prints”—reprinting the same plate without re-inking for subtle, ethereal layers. Pair with nature journals or poetry projects for cross-curricular fun. In 2026, educators report increased focus and emotional regulation during gelatin sessions—likely due to its tactile, slow-paced rhythm.
4. Recycled Material Relief Printing: Eco-Art with Impact
This method repurposes everyday household items into bold, graphic stamps—perfect for eco-conscious families and schools aiming for zero-waste art programs. No carving tools needed, and every material is safe, familiar, and free.
Top Safe Materials & How to Use Them
- Cork bottle stoppers: Glue flat buttons or beads on top for raised patterns (ages 3+)
- Cardboard tubes (toilet paper or paper towel): Cut into rings or slice lengthwise for curved line stamps (ages 4+)
- Old erasers: Draw simple shapes with pencil and press—not carve!—into ink (ages 6+, great intro to negative space)
- Yogurt cup bottoms: Press textured sides directly into ink for organic, bubbly prints (ages 2+)
For children 7–12, try “collaborative mural printing”: assign each child one recycled item, print a shared 24" × 36" sheet, then assemble the prints into a cityscape, underwater scene, or constellation map. It builds teamwork and spatial reasoning—all while keeping landfills out of the equation.
Essential Safety & Setup Tips for Every Age
Whether you’re doing foam stamps at the kitchen table or gelatin printing in the garage, these universal practices keep creativity safe and stress-free:
- Always check labels: Look for AP (Approved Product) or CL (Caution Label) seals from the ACMI (Art & Creative Materials Institute)—never assume “washable” means non-toxic for mouthing
- Prep smart: Cover surfaces with recycled newspaper or wipe-clean vinyl tablecloths. Keep damp cloths nearby for quick clean-ups
- Age-appropriate roles: Toddlers press and peel; preschoolers dab ink and choose colors; elementary kids mix inks, plan sequences, and document results in sketchbooks
- Storage matters: Store ink pads upside-down to prevent drying; keep gelatin plates covered and refrigerated; air-dry foam stamps flat to avoid warping
- When in doubt, simplify: In 2026, pediatric OTs recommend starting with ONE material (e.g., just apples) for first-time printers—then gradually add complexity as confidence grows
Remember: The goal isn’t museum-quality editions—it’s curiosity, connection, and the proud grin when your 3-year-old holds up a paper streaked with rainbow potato prints and declares, “I made it *twice*!” With these safe, joyful techniques, printmaking becomes less about perfection and more about possibility—one press at a time.
More Articles
 Where to Sell Bracelets as a Kid (2026)
 Easy Rose Drawing for Kids: Step-by-Step Guide
 How to Draw a Leopard for Kids (2026)
 Seasonal Wreath Crafts Kids Can Make Easily
 Art Techniques Buying Guide: Tools, Materials & Skills
 DIY Slime Recipes Without Borax: 8 Safe Kids Variations
 Easy Dragon Drawing for Kids: Stress-Free Guide
 How to Draw Kids Book: Pro Steps & Free Template
 Handmade Gifts Kids Can Make at Home
 Draw a Caterpillar for Kids: 5-Minute Steps & Free Templates