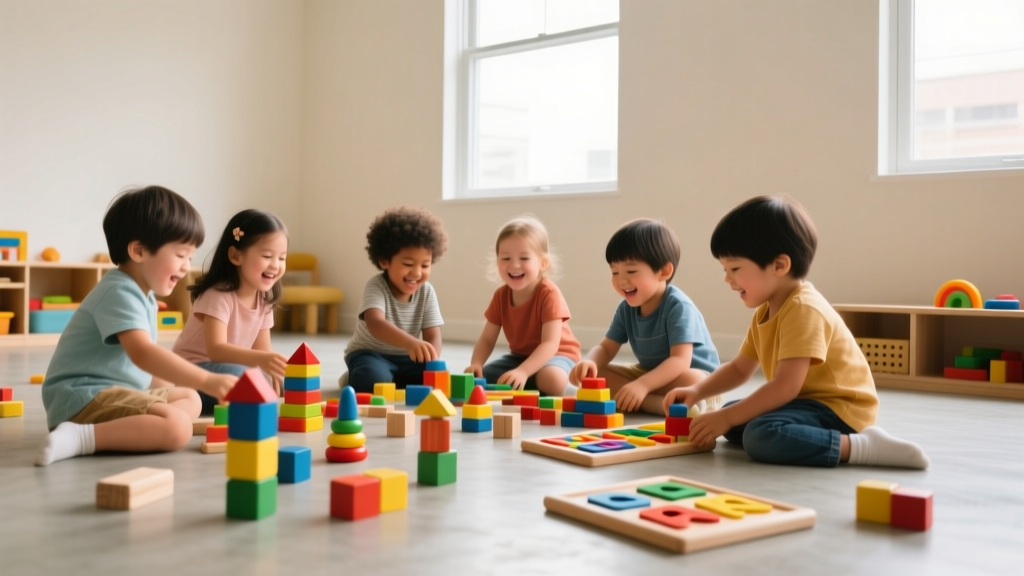
Paper Mâché Projects for Rainy Days
Why Paper Mâché Belongs in Every Rainy-Day Toolkit
When the sky turns gray and energy levels spike indoors, paper mâché is a secret weapon: tactile, imaginative, low-cost, and endlessly adaptable. Unlike many crafts that demand precision or pricey kits, paper mâché meets kids where they are—splattering, tearing, shaping, and transforming scraps into something magical. Best of all? It builds fine motor skills, patience, and storytelling confidence—all while keeping little hands (mostly) occupied for 45+ minutes. And yes—it *can* be tidy with the right prep. In this guide, you’ll get three ready-to-go projects, a foolproof glue recipe, and real-world tips from parents who’ve survived the papery chaos.
Simple Supplies & Smart Prep
Gather What You Already Have
You don’t need a craft store run. Start with these household staples:
- Paper: Newspaper (most forgiving), scrap printer paper, or brown paper bags—avoid glossy or coated paper (it won’t absorb glue well).
- Glue base: White school glue (PVA) mixed 1:1 with water, OR flour-and-water paste (see recipe below).
- Form base: Balloons, cardboard tubes, plastic bowls, egg cartons, or even crumpled foil balls.
- Tools: Scissors, mixing bowl, wide paintbrush (1–2 inches), shallow tray or baking sheet (for containment), and old T-shirts or smocks.
The 5-Minute Flour Paste (No-Cook & Kid-Safe)
Mix 1 cup all-purpose flour + 1¼ cups cold water in a bowl until smooth. Heat gently in a saucepan over medium-low heat, stirring constantly, until thickened to a creamy consistency (about 3–4 minutes). Cool completely before use. Store covered in the fridge for up to 5 days. Pro tip: Add 1 tsp white vinegar to inhibit mold.
Prep Like a Pro: Reduce the Mess
• Cover work surfaces with overlapping layers of newspaper (not just one sheet—tape edges down).
• Set up a ‘dip station’: shallow dish of paste + small bowl of torn strips (pre-tear ½-inch-wide x 2-inch-long pieces—kids can help!).
• Keep a damp washcloth nearby for quick finger wipes—and a dry towel for drying hands between layers.
• Use a wire rack or upside-down egg carton to let projects air-dry without sticking.
Three Projects That Actually Work (Ages 4–10)
1. Balloon Animal Heads (Great for Ages 4–7)
Ideal for first-timers: no carving, no cutting, just wrapping and waiting. Perfect for pretend play later!
- Step 1: Blow up a balloon to grapefruit size and tie tightly.
- Step 2: Tear 30–40 strips of newspaper (½" x 2").
- Step 3: Dip strips in paste, remove excess by sliding between fingers, then lay smoothly over balloon—cover ¾ of surface, leaving bottom open for removal later.
- Step 4: Apply 2–3 layers, letting each dry 4–6 hours (or overnight). Then pop the balloon, carefully peel it out through the opening.
- Finishing: Paint with tempera, add yarn hair, button eyes, or pipe-cleaner ears. Let dry fully before handling.
Parent hack: Pre-inflate balloons and secure them upright in cups filled with dried beans—keeps hands free and prevents rolling.
2. Recycled-Cardboard Sculptures (Ages 6–9)
Turn cereal boxes, toilet paper rolls, and juice cartons into robots, castles, or jungle animals—with zero cutting required.
- Step 1: Tape forms together firmly (e.g., attach a tube to a box for a robot torso + neck).
- Step 2: Crumple foil or wad newspaper to pad sharp edges or build features (e.g., robot arms, castle turrets).
- Step 3: Wrap entire structure in 2–3 layers of paper mâché, smoothing seams as you go.
- Step 4: Dry 24 hours. Sand lightly with fine-grit sandpaper (optional but makes painting smoother).
- Finishing: Paint, then add details with markers, fabric scraps, or bottle-cap wheels.
Time-saver: Do the building and first layer on Day 1; let dry overnight. Add second layer + paint on Day 2—breaks up the project naturally.
3. Egg Carton Masks (Ages 5–10)
Quick, wearable, and full of personality—ideal for impromptu performances or quiet-time storytelling.
- Step 1: Cut apart a cardboard egg carton (12-count works best). Use one cup as the base—cut eye holes with adult help.
- Step 2: Reinforce edges with extra strips of paper mâché to prevent bending.
- Step 3: Build features: roll paper into cones for noses, fold strips for eyebrows, twist for horns or antennae.
- Step 4: Apply 2 layers, dry 12–18 hours. Poke two small holes on each side, thread elastic or yarn to fit heads.
- Finishing: Paint with bold colors, add glitter glue accents, or glue on feathers or pom-poms.
Sensory note: For kids sensitive to texture, let them wear gloves or use tweezers to place strips—control reduces overwhelm.
Real Talk: Troubleshooting & Tips From Parents
“My kid lost interest after layer one.” → Solution: Keep sessions short (20–30 mins max), focus on one layer per session, and narrate progress (“Look—you made the nose stand out!”). Celebrate effort, not perfection.
“It’s taking forever to dry.” → Solution: Place projects near a fan (not heat source) or in sunlight near a window. Thinner layers dry faster—aim for 2–3 layers instead of 5 heavy ones.
“The paste got lumpy/moldy.” → Solution: Whisk flour paste constantly while heating. Refrigerate and sniff before each use—if sour or discolored, toss it. Glue-based paste lasts longer at room temp (up to 3 days).
“We’re drowning in scraps.” → Solution: Designate a “scrap jar” for torn paper—reusable for future projects. Save leftover paste in a labeled mason jar with date. Compost dried paper mâché scraps (they break down easily!).
And finally—let go of ‘neat.’ A slightly lopsided mask or a balloon head with visible seams isn’t flawed—it’s evidence of thinking, trying, and making meaning. That’s the real magic of paper mâché.
With minimal prep and maximum creative payoff, paper mâché transforms rainy afternoons from ‘I’m bored’ to ‘Look what I made!’ Grab the newspaper, mix the paste, and invite curiosity—not perfection.
More Articles
 How to Draw a Sloth for Kids: Simple 5-Step Guide
 Woodworking for Beginners: Easy Step-by-Step Projects
 Watercolor Parenting: Nurture Creativity & Presence in Kids
 Experiments & Observation: A Maker's Guide
 How to Draw a Strawberry for Kids (2026)
 Watercolor Tips for Young Artists (Ages 6-12)
 Cheap vs Premium Outdoor Furniture: Performance & Value
 Arts Safety Tips
 Seasonal Craft Calendar: Month-by-Month Project Ideas (2026)
 How to Draw a Flower for Kids: Easy Steps & Benefits