Friendship Bracelets: Easy Patterns Guide
Why Friendship Bracelets?
Friendship bracelets teach patience, pattern recognition, and fine motor skills. They're portable, inexpensive, and make meaningful gifts that strengthen social bonds.
Getting Started
Materials Needed
- Embroidery floss (6-strand cotton)
- Scissors
- Tape or clipboard to hold threads
- Beads (optional)
Basic Setup
Cut floss to about 36 inches per strand. Knot all strands together at the top, leaving 3 inches for tying. Tape the knot to a table or clip to a clipboard. Separate strands and you're ready to knot.
Pattern 1: Candy Stripe
The simplest pattern. Use 4-6 colors. Take the leftmost strand and knot it over each strand to the right (two knots per strand). When you reach the right side, that strand becomes the new leftmost. Repeat.
Pattern 2: Chevron (V-Shape)
Use an even number of strands in pairs of colors. Work from both outside edges toward the center, making knots inward. The two center strands get knotted together. Repeat, creating V patterns.
Pattern 3: Diamond
Start with a chevron, then reverse the direction to create an inverted V below it. The result is a diamond shape. Requires 8-12 strands for best results.
Tips for Success
- Keep tension consistent — not too tight, not too loose
- Always make two knots per strand
- Practice on cheap yarn before using embroidery floss
- Start with 4 strands and work up to more complex patterns
More Articles
 How to Make a Kids Book: 7 Realistic Steps (2026)
 How to Draw a Butterfly for Kids: Easy & Developmental
 How to Draw Greg from Diary of a Wimpy Kid
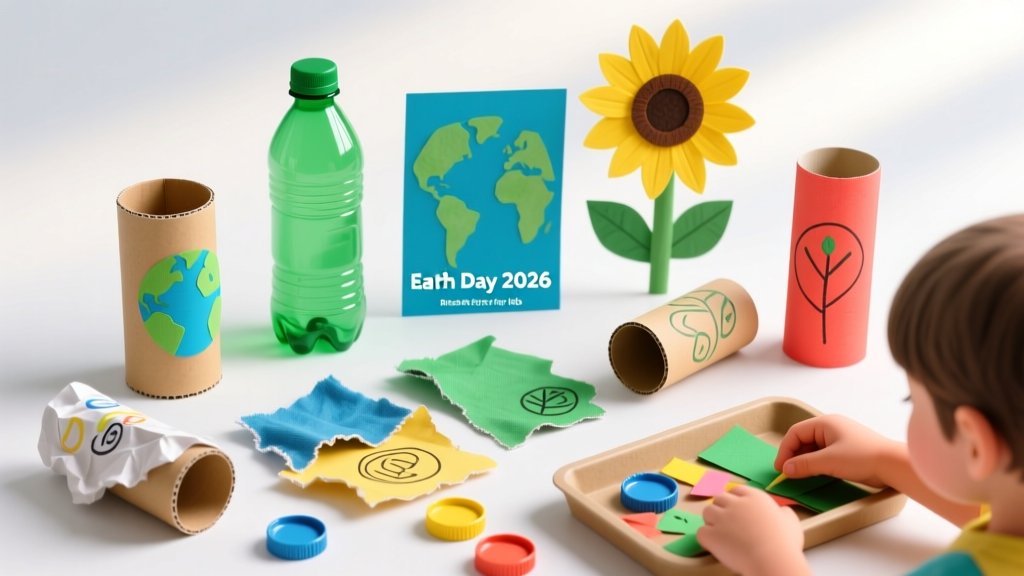 Earth Day Recycled Art Projects: 15 Eco-Friendly Crafts
 How to Draw George Washington for Kids (2026)
 Recycled Earth Day Art Projects for Kids (2026)
 Snow Globes for Kids: Safe, Mess-Free Craft Ideas
 20 Recycled Art Projects for Kids (Zero-Cost)
 How to Clean Art Evidence: Forensic Conservator’s Guide
 How to Draw Anime for Kids: Brain-Building Guide